
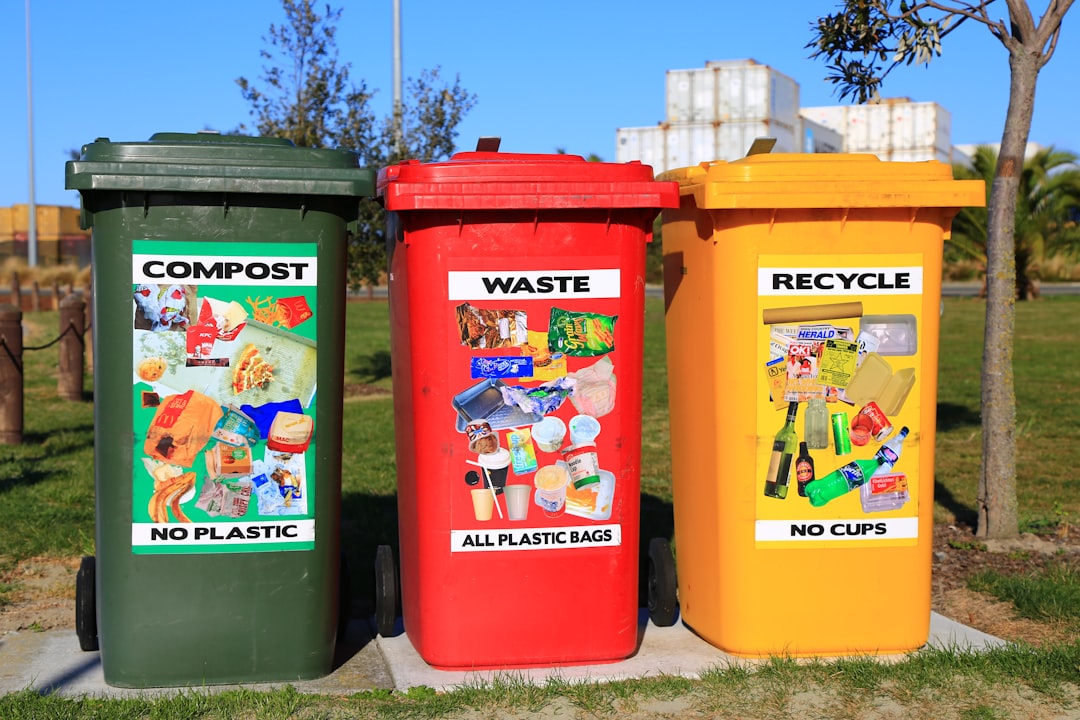
Composting has a reputation for being either mystical (“feed the pile, honor the worms”) or intimidatingly technical. It’s neither. It’s one ratio, one habit, and knowing how to read three warning signs. Get those and you’ll turn a third of your household trash into free soil that outperforms anything bagged. This guide skips the philosophy and gives you the working parts.
The only ratio you need to remember
Every “greens and browns” explanation dances around the actual number, so here it is: microbes want a carbon-to-nitrogen ratio of roughly 25–30 parts carbon to 1 part nitrogen. You don’t measure this with a lab—you approximate it by volume. In practice that means 2 to 3 parts “browns” to 1 part “greens” by volume. That’s the whole secret. Almost every failed compost pile is simply too far off this balance in one direction.
| Browns (carbon) — use ~2–3 parts | Greens (nitrogen) — use ~1 part |
|---|---|
| Dry leaves, cardboard, paper | Fruit & veg scraps |
| Straw, sawdust (untreated) | Coffee grounds & filters |
| Wood chips, dry stems | Fresh grass clippings |
| Egg cartons, toilet rolls | Plant trimmings |
Coffee grounds trip people up: they’re brown in color but count as a green (they’re nitrogen-rich). When in doubt, remember the rule of thumb—if it was recently alive and moist, it’s a green; if it’s dry and papery, it’s a brown.
What to keep out (the short, important list)
Add anything plant-based, but keep these out of a home pile: meat, fish, dairy, oily/greasy food, pet waste, and diseased plants. They either attract rodents, go rancid, or survive to spread problems. This lines up with the home-composting guidance from the US EPA, which is a solid free reference if you want to go deeper.
Troubleshoot by symptom (bookmark this)
This table replaces 90% of composting advice. When something’s off, your pile is telling you exactly what it needs:
| Symptom | What it means | Fix |
|---|---|---|
| Smells like rot / ammonia | Too wet, too many greens, no air | Add browns, turn it, let it dry |
| Not heating up / nothing happening | Too dry, too small, or too many browns | Add greens + water; build to at least ~1 m³ |
| Fruit flies / pests | Exposed food scraps | Bury scraps under browns each time |
| Damp but slow | Pieces too big | Chop scraps smaller for more surface area |
Choose your setup by your space (not by what’s trendy)
You don’t need a fancy tumbler. The right setup is the one that fits where you live, and each has an honest downside worth knowing before you buy:
- No outdoor space (apartment): A worm bin (vermicompost) under the sink or on a balcony. It’s odorless when balanced, handles daily kitchen scraps, and produces the richest compost of any method. Downside: worms are sensitive to citrus, onion, and letting the bin dry out.
- Balcony or tiny patio: A sealed tumbler. It keeps pests out, spins to aerate without a pitchfork, and stays tidy. Downside: limited volume, and it needs both greens and browns added together to work.
- A yard: A simple open pile or a wire/pallet bin. Cheapest by far (often free), highest capacity, and the traditional workhorse. Downside: slower, and you’ll need to bury food scraps under browns to keep animals out.
Start with whichever matches your reality. A worm bin someone actually tends beats a beautiful yard pile that never gets turned.
How long it really takes (by method)
| Method | Effort | Time to finished compost |
|---|---|---|
| Cold pile (add and wait) | Minimal | 6–12 months |
| Hot pile (turned weekly, balanced) | Moderate | 1–3 months |
| Tumbler (sealed, spun) | Low–moderate | 2–3 months |
| Worm bin (vermicompost) | Low | 2–4 months |
The honest tradeoff: turning the pile weekly and keeping the ratio right is the difference between compost in a season and compost next year. If you’re impatient, chop small, turn often, and keep it as damp as a wrung-out sponge.
Knowing when it’s done—and when to hold back
Finished compost is dark, crumbly, and smells like forest floor—you shouldn’t recognize the original scraps. One caution most guides skip: unfinished compost can harm plants. If it still looks chunky and smells sour, it’s still actively decomposing and will pull nitrogen away from your plants (and can burn roots). When unsure, let it cure two more weeks, or use it as surface mulch rather than mixing it into the root zone.
How to actually use it (with amounts)
Free soil is only useful if you know how much to apply. Compost is a soil amendment, not a potting mix—it’s too rich to grow in alone. Practical rates:
- Existing garden beds: spread a 2–3 cm layer over the surface once or twice a year and let worms work it in, or lightly fork it into the top few centimeters.
- Potted plants: mix no more than 1 part compost to 3 parts potting soil. More than that and drainage suffers.
- New planting holes: a handful mixed into the backfill gives roots a slow-release start.
- Lawns: a thin ½–1 cm “top dressing” raked in feeds grass without chemical fertilizer.
You can also steep a couple of handfuls in a bucket of water for a day to make a mild liquid feed for houseplants—an easy way to use compost when you don’t have beds to spread it on.
Keeping it going through winter
Decomposition slows in the cold but doesn’t stop. Keep adding scraps—just expect the pile to sit until spring warmth restarts the microbes. A larger pile holds its own heat better, and insulating the sides with a thick layer of dry leaves or straw keeps a hot pile working longer into the season. In an apartment, a worm bin kept indoors sidesteps winter entirely.
