
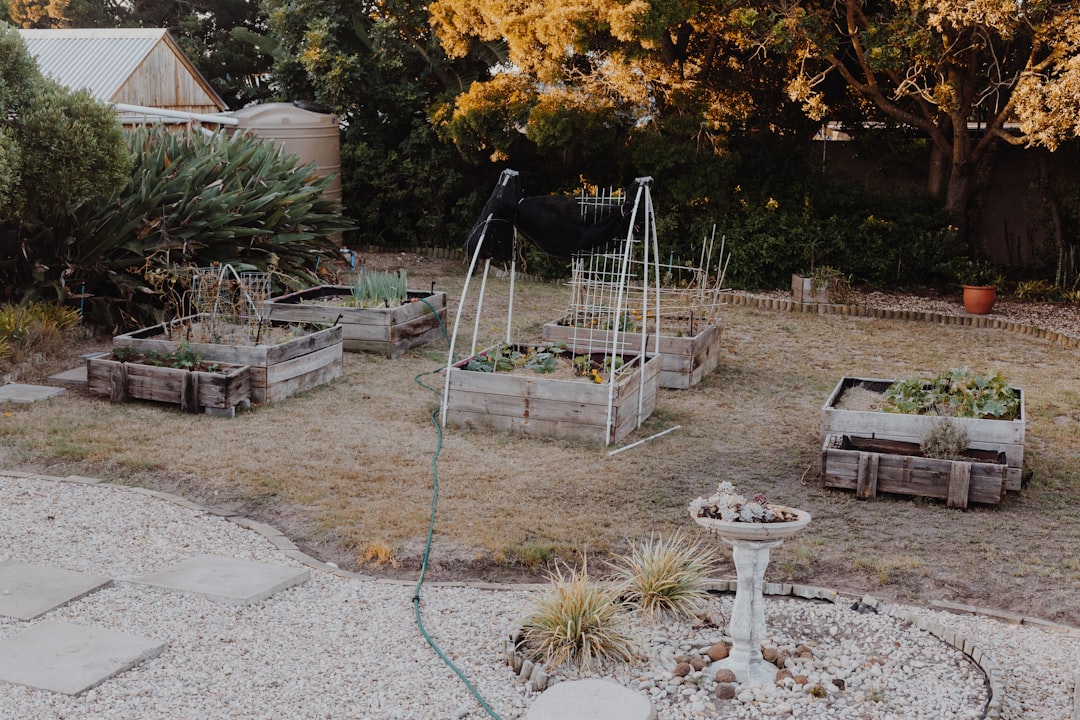
Can a balcony barely big enough for a chair actually feed you? More than you’d think. A small space is no barrier to fresh herbs, salad leaves, and a bit of green calm—it just calls for smarter use of every centimeter. Here’s a step-by-step for building a productive mini balcony garden from scratch.
With a little creativity and planning, even the smallest balcony can be transformed into a vibrant and productive garden.
A mini balcony garden brings beauty, fresh produce, and mental clarity to your living space. Whether you want herbs for cooking, flowers to brighten your view, or a handful of vegetables to reduce grocery costs, this guide will walk you through how to create a thriving garden in limited square footage.
Let’s explore a detailed, step-by-step process to build your own cozy, productive balcony garden from scratch—without breaking the bank.
Why a Mini Balcony Garden Is Worth It
Before diving into the steps, it’s helpful to understand why a balcony garden is such a smart idea.
You gain daily access to fresh herbs and veggies
You reduce food waste and packaging
You get a dose of nature—right outside your window
You create a stress-relieving environment
You improve air quality
You save money on groceries over time
Most importantly, you create a space that feeds both body and mind.
Step 1: Evaluate Your Balcony Space
Start by understanding what you’re working with. Take a few minutes to observe your balcony.
Measure the area—length, width, and railing height
Check how much sunlight the space receives
Identify shaded zones
Note how windy the area gets
Look for areas that could support vertical weight
Sunlight is the most important factor. Most vegetables and herbs need at least 4 to 6 hours of direct sunlight a day. If your balcony faces north, you may need to grow shade-tolerant plants or use grow lights.
Also consider weight capacity if you live in an apartment. Soil and containers can get heavy, especially when watered.
Step 2: Plan Your Garden Layout
Sketch a simple layout of your balcony on paper. Think in three dimensions—not just floor space, but walls, railings, and vertical airspace.
Design zones:
A vertical zone for climbing or hanging plants
A sunny wall for small shelves or a vertical garden
A railing area for planter boxes
A corner for a chair or cushion (make it relaxing too!)
An open zone for large containers or grow bags
Use stackable or hanging solutions to maximize your growing area without crowding the space.
Step 3: Choose the Right Containers
You don’t need fancy pots to grow a healthy garden. You can use:
Plastic or terracotta pots (with drainage holes)
Grow bags (lightweight and flexible)
Wooden crates lined with plastic
Old buckets, cans, or boxes
Vertical planters made from fabric or wood
Hanging baskets or railing-mounted boxes
Make sure every container has adequate drainage. You can improve airflow and drainage by placing pots on small bricks or plant feet.
If you’re renting, use trays under containers to prevent water damage to the balcony floor.
Step 4: Select Your Plants Wisely
Choose plants that suit your sunlight, climate, and personal needs. Here are ideal options for a balcony garden:
Herbs
Basil
Mint
Parsley
Cilantro
Oregano
Chives
Thyme
Lemongrass
Herbs are compact, flavorful, and grow fast. Harvesting them encourages more growth.
Leafy Greens
Lettuce
Spinach
Kale
Arugula
Swiss chard
These grow well in shallow containers and provide multiple harvests per plant.
Fruiting Plants
Cherry tomatoes
Peppers
Radishes
Zucchini (small varieties)
Bush beans
Look for dwarf or patio varieties specifically bred for containers.
Flowers and Companions
Marigolds (repel pests)
Lavender (attracts pollinators)
Petunias (easy and colorful)
Nasturtiums (edible flowers + pest control)
Mix edible and ornamental plants for beauty and function.
Step 5: Use Quality Soil and Compost
Soil is the foundation of a healthy garden. For containers, avoid using plain garden soil—it’s too heavy and compacts easily.
Use:
A lightweight potting mix
Compost-rich organic soil
Add perlite or coco coir for better drainage
Use slow-release organic fertilizer or compost tea every few weeks
You can make your own compost using kitchen scraps if space allows. A small worm bin or bokashi composting system is balcony-friendly.
Step 6: Water Efficiently
Balcony gardens dry out faster than ground soil. Here’s how to keep things hydrated without wasting water:
Water in the early morning or late afternoon
Use self-watering containers for thirsty plants
Place mulch or pebbles on top of soil to reduce evaporation
Collect rainwater using a small barrel if your balcony gets runoff
Install a drip irrigation kit or reuse a plastic bottle as a DIY watering system
Check moisture by sticking your finger into the soil. If it’s dry two inches down, it’s time to water.
Step 7: Go Vertical
When space is tight, the only way to go is up. Use your walls, railing, and even ceiling to increase your growing capacity.
Ideas:
Hanging planters or macramé hangers
Wall-mounted shelves or pegboards
Stacked crates or pots
Recycled shoe organizers for herbs
Trellis for climbing plants like peas or cucumbers
A vertical structure also adds visual interest and helps separate the garden from the rest of your space.
Step 8: Add Functional Decor
Your balcony garden should be productive and peaceful. Include items that make the space enjoyable.
Foldable chair or cushion
Small table for tea or books
Wind chimes or solar-powered lights
Rugs or mats to define the space
Plant tags, mini chalkboards, or decor made from natural materials
Turn the garden into a place where you want to spend time—not just maintain it.
Step 9: Maintain with Ease
A mini garden shouldn’t be a full-time job. With a few minutes each day, you can keep it thriving.
Daily:
Check moisture
Look for pests
Pick ripe herbs or vegetables
Weekly:
Wipe leaves and remove dead ones
Rotate containers for even growth
Add compost or fertilizer if needed
Seasonally:
Replant or rotate crops
Check container health and replace soil if compacted
Clean and store unused tools
Gardening is a process of learning and adjusting. Start simple and observe what works in your unique space.
Bonus Tips for Success
- Choose edible plants you actually eat. This avoids waste and keeps you excited.
- Start small. Don’t try to fill the whole balcony on day one.
- Use companion planting to deter pests naturally.
- Try growing from scraps—green onions, garlic, or lettuce bottoms.
- Join online balcony gardening groups for ideas and troubleshooting.
Common Questions
Can I garden without direct sunlight?
Yes. Many herbs and greens grow in partial sun or filtered light. You can also use full-spectrum grow lights indoors near your balcony.
Will my balcony support the weight?
Use lightweight containers, avoid overwatering, and spread pots evenly. Check with your landlord if unsure.
Is it expensive to start?
Not necessarily. Use repurposed containers, grow from seeds, and build over time. Many gardeners start with under $20.
What’s the best way to deal with pests?
Use neem oil, garlic spray, or soap spray for common pests. Regular inspection is key. Avoid chemical pesticides.
How do I protect plants from wind?
Group them close together, use windbreaks like mesh or bamboo fencing, or grow shorter plants in exposed zones.
Final Thoughts: Grow More Than Plants
A mini balcony garden is more than just a few pots. It’s a space of nourishment, peace, and purpose.
It teaches you patience and observation
It rewards you with flavors and colors
It makes your living space come alive
With a few containers, some healthy soil, and a handful of seeds, you can start your own thriving garden today—even if your outdoor space is the size of a closet.
Every leaf, bloom, and harvest will remind you that you’re capable of growing something beautiful—even in the smallest of places.
